
Acoustic Treatment for Your Home Studio in India: A Complete Guide
You spent months choosing the right microphone, audio interface, and studio monitors. You have set everything up and your recordings still sound like they were made in a bathroom. This is the most common and most frustrating home studio problem in India, and the cause is almost always the same: untreated room acoustics.
This guide explains exactly what acoustic treatment is, why Indian rooms need it urgently, and how to treat your space step by step from free changes to professional solutions.
Why Acoustic Treatment Matters More Than Expensive Equipment
Here is a truth that most gear-focused musicians learn the hard way: a ₹5,000 microphone recorded in a well-treated room will sound better than a ₹50,000 microphone recorded in an untreated room.
Equipment captures what the room gives it. If your room is full of flutter echo, bass buildup in the corners, and harsh high-frequency reflections, your expensive microphone will capture all of that perfectly. No amount of EQ or processing in a DAW fully removes room sound once it is baked into a recording.
Acoustic treatment changes what the room gives the microphone in the first place. It is the foundation that everything else sits on.
Understanding Sound: Reflection, Absorption, and Diffusion
Before treating a room, you need to understand what you are dealing with.
Reflection happens when sound waves hit a hard surface a wall, floor, or ceiling and bounce back. In an untreated room, reflections from multiple surfaces arrive at your microphone milliseconds after your direct voice, creating echo and a smeared, unclear sound.
Absorption is the process of converting sound energy into heat by forcing sound waves through porous material. Acoustic foam, mineral wool, and thick fabric all absorb sound to varying degrees. Heavy materials absorb low frequencies. Lighter materials absorb mid and high frequencies.
Diffusion scatters sound waves in multiple directions rather than reflecting them back directly. Diffusers break up standing waves and flutter echo without deadening the room — they make the acoustic environment feel natural and alive rather than flat and dead.
A well-treated room uses all three. Absorption at first reflection points. Bass traps in corners. Diffusion on rear walls.
The Three Pillars of Acoustic Treatment
Every home studio treatment plan is built on three elements:
Bass traps address low-frequency buildup. In any rectangular room, low frequencies accumulate in corners and create resonant peaks that make bass sound uneven and muddy. Bass traps are thick, dense absorptive panels placed in corners floor to ceiling if possible.
Absorption panels address mid and high-frequency reflections. These are the panels you see on walls in recording studios fabric-wrapped frames filled with mineral wool or open-cell foam. They are placed at the primary reflection points: the side walls adjacent to the listening position, the ceiling above, and the wall behind you.
Diffusers go on the rear wall behind the listening position. They scatter remaining reflections rather than absorbing them, preserving some of the room’s natural energy and preventing the over-damped, airless sound that too much absorption creates.
Bass Traps: Where to Place Them in Indian Rooms
Indian rooms particularly tiled apartments have significant bass buildup problems. Hard, reflective surfaces on all sides, combined with room dimensions that create resonant frequencies, make bass management essential.
Place your first bass traps in the four vertical corners of the room, from floor to ceiling if budget allows. These corner positions are where bass energy is highest filling them with thick absorptive material makes the biggest acoustic improvement per rupee spent.
Second priority: the two horizontal corners where the ceiling meets the front wall and the ceiling meets the rear wall. These are also high-energy zones for low frequencies.
For DIY bass traps in India, 100mm to 150mm thick rockwool (Saint-Gobain ISOVER is widely available) wrapped in acoustically transparent fabric is highly effective. A single 600 x 1200mm panel of 150mm rockwool, floor mounted in a corner, costs approximately ₹1,500 to ₹3,000 in materials.
Acoustic Panels: DIY vs Ready-Made Options in India
DIY panels are the most cost-effective option if you are comfortable with basic woodworking. You build a timber frame, fill it with rockwool or high-density acoustic foam, wrap it in fabric, and mount it on the wall. A 600 x 900mm DIY panel costs approximately ₹2,000 to ₹5,000 in materials. With ten to twelve panels for a modest room, total cost is ₹20,000 to ₹60,000.
Ready-made acoustic panels from Indian suppliers save time and look more professional. They are available from acoustic treatment specialists in Delhi, Mumbai, and Bangalore, as well as online. Prices range from ₹3,000 to ₹10,000 per panel depending on size and quality.
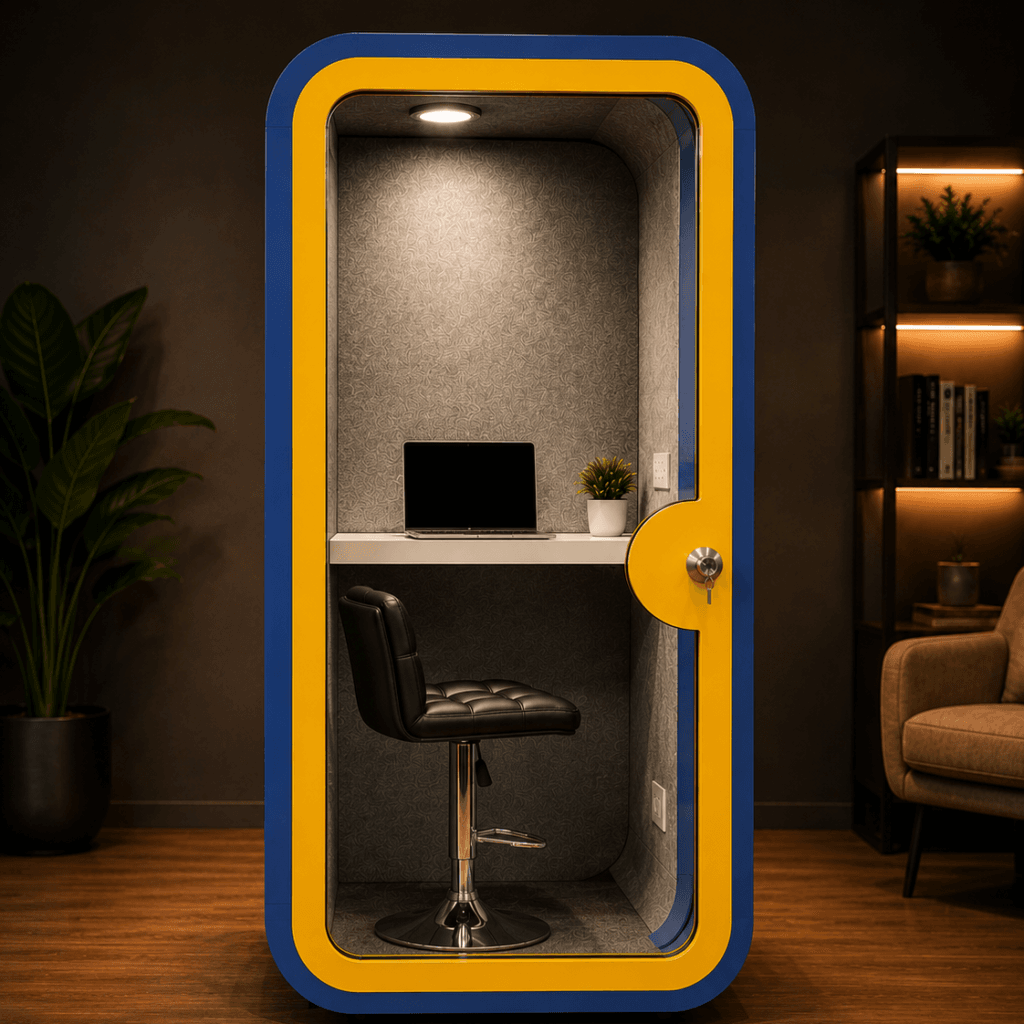
Acoustic pods as an alternative: If treating an entire room is not practical because you rent, share the space, or cannot commit to permanent wall fixings a dedicated acoustic pod like the Kraft-Obench Vocal Pod is a complete pre-treated acoustic environment in a single product. It is particularly practical for Indian homes where room treatment options are limited.
Diffusers for a Natural-Sounding Room
Diffusers are often neglected in Indian home studios because they are less intuitive than absorption panels you cannot easily hear the difference on a basic level. But without diffusion, a heavily absorbed room sounds unnaturally dead and fatiguing to work in for long sessions.
The most common diffuser type for home studios is the quadratic residue diffuser (QRD) a panel with wells of varying depths that scatter sound at different frequencies. Wooden QRD diffusers are available from Indian acoustic suppliers, or can be built from timber with basic carpentry skills.
Place diffusers on the rear wall of your studio, opposite the monitoring position. Ceiling cloud diffusers are also effective in rooms with parallel floor-ceiling reflections.
Best Budget Acoustic Treatment Materials Available in India
Saint-Gobain ISOVER glass wool / rockwool slabs: Available at building material suppliers across India. 75mm to 100mm thickness for panels, 150mm for bass traps. Excellent acoustic performance at low cost.
Acoustic foam tiles: Available on Amazon India from multiple Indian and international brands. Look for minimum 50mm thickness. Thinner tiles (25mm) have limited effectiveness.
Green Glue Noiseproofing Compound: Available through specialty acoustic suppliers. Used between drywall layers for soundproofing different from acoustic treatment but useful if you are building a dedicated room.
Jute fabric for panel wrapping: Acoustically transparent and widely available in India. A significantly cheaper alternative to purpose-made acoustic fabric.
PVC pipe frames: As an alternative to timber frames for DIY panels, PVC pipe with corner joints is cheap, straight, and requires no tools. Less rigid than timber but adequate for wall-mounted panels.
Step-by-Step Room Treatment Plan
Phase 1 (₹5,000 to ₹15,000): Fill all four vertical corners with thick rockwool or foam. Add a thick rug to the floor. Add heavy curtains over any windows. This alone transforms most Indian rooms.
Phase 2 (₹15,000 to ₹40,000): Add absorption panels at first reflection points on side walls and ceiling above the recording position. Cover at least 25 to 30% of total wall and ceiling area.
Phase 3 (₹40,000 to ₹80,000): Add rear wall diffusers, ceiling cloud panels, and additional corner bass trapping. This brings the room to genuine professional-grade acoustic performance.
Alternative – Acoustic Pod (₹1,00,000+): Skip the room treatment entirely and record inside a Kraft-Obench Vocal Pod. Purpose-built acoustic environment, zero room modification, fully portable.
CTA: Skip room treatment entirely with a purpose-built acoustic recording pod. Explore the Kraft-Obench Vocal Pod — India’s premium recording pod.